こんばんは!サンクチュアリー本店の中村です
Hello Everyone! I am Nakamura, representative director of Sanctuary’s headquarters.
ラスベガス在住 Mr.A Diazからお預かりした GSX1000Sカタナ
(Part‐12)です!
This is GSX1000S Katana (Part-12) shipped from Mr. A Diaz in Las Vegas!
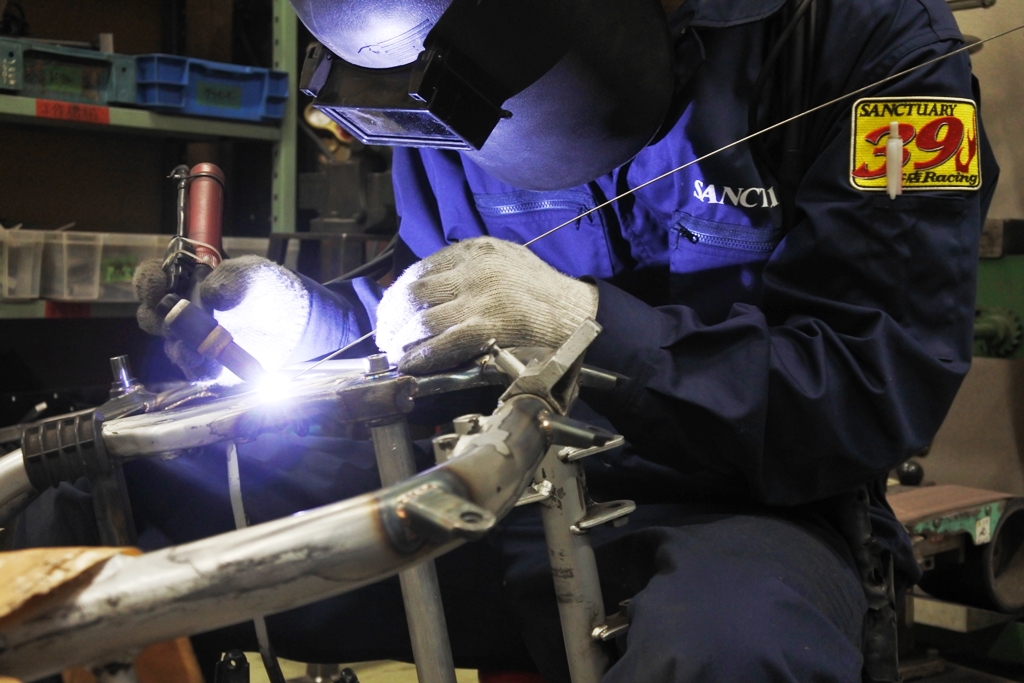
スイングアームピボット部を7mmローダウン加工したRCM‐500のフレーム。
The RCM-500 frame we processed to make the pivot part of the rear swing arm 7 mm lower.
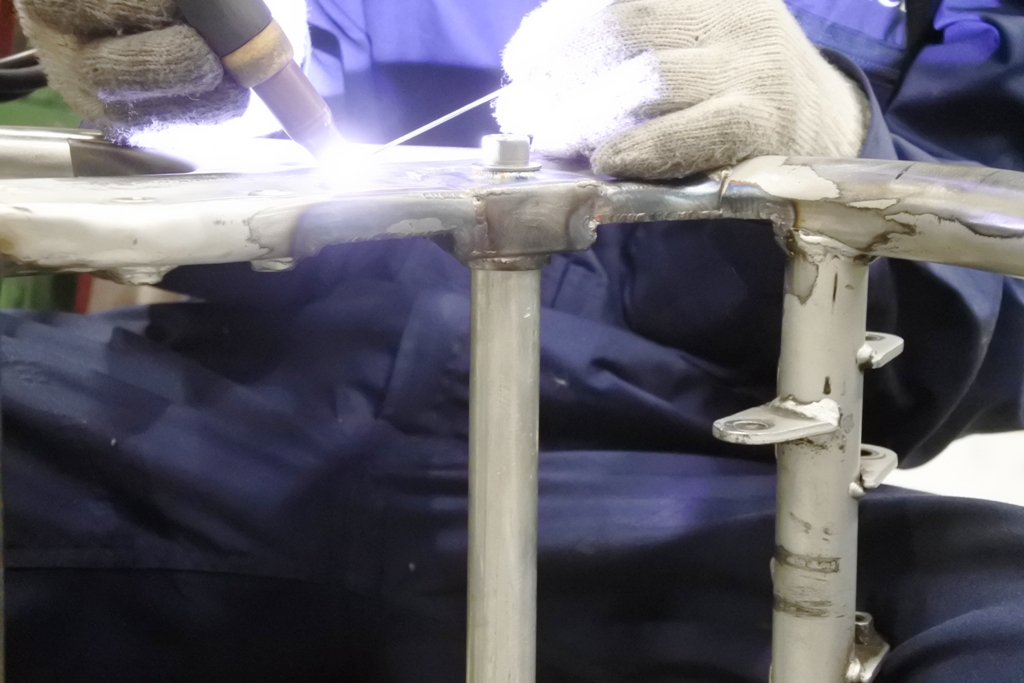
最後にピボット周辺のフレーム補強溶接を行って・・・
Then finishing with welding around the pivot to reinforce …
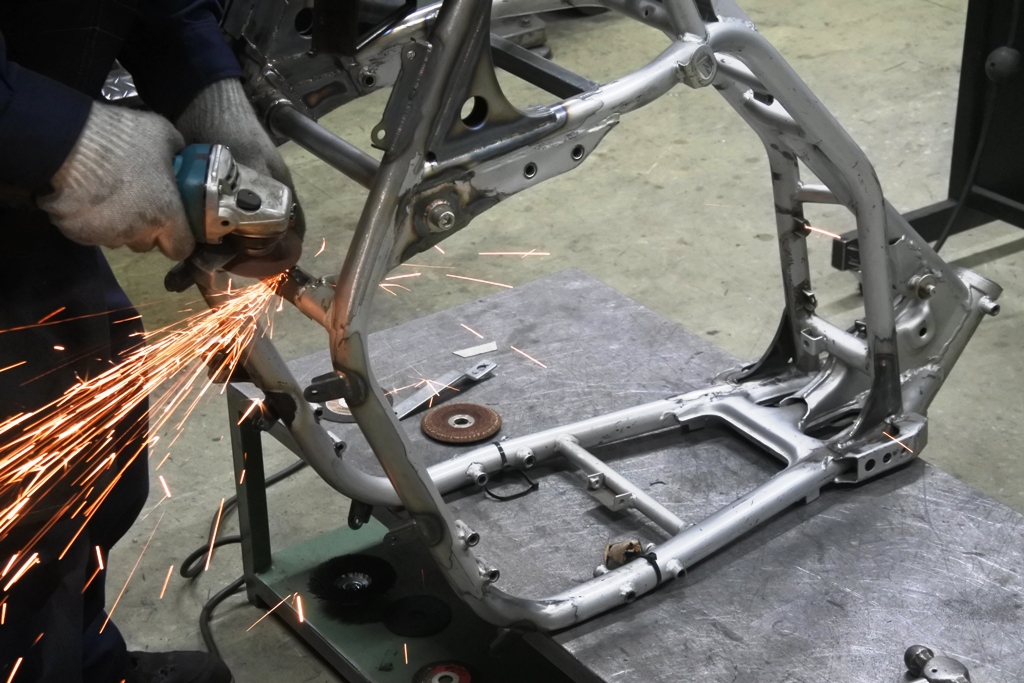
不要な部位を切除すれば・・・
Cutting all unneeded parts …
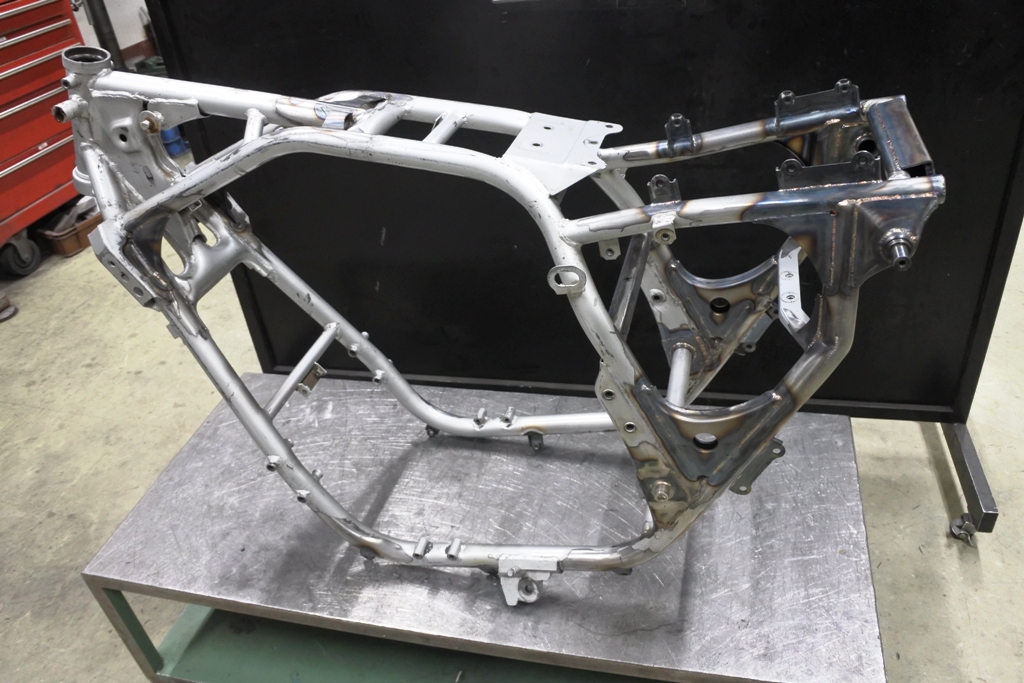
RCM‐500 GSX1000S KATANAのフレーム 完成です!
RCM-500 GSX1000S KATANA frame is ready!
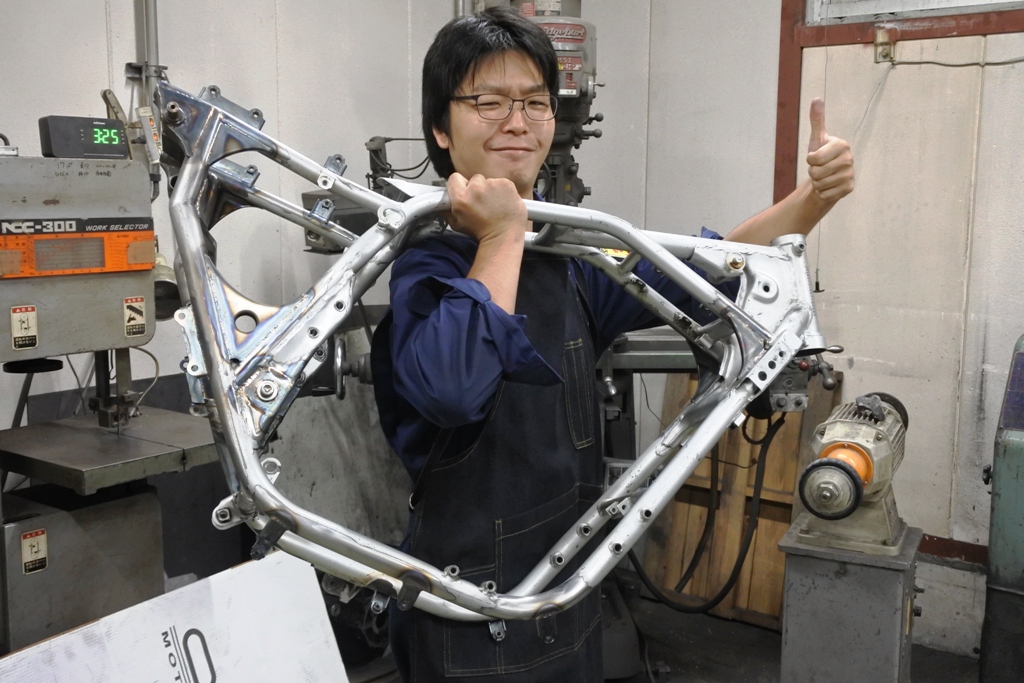
いや~ 予想してたより大変な加工だったんで、終わって湯浅も喜んでます!(笑)
Phew! It was harder than imagined, so Yuasa is also happy now that it is over!
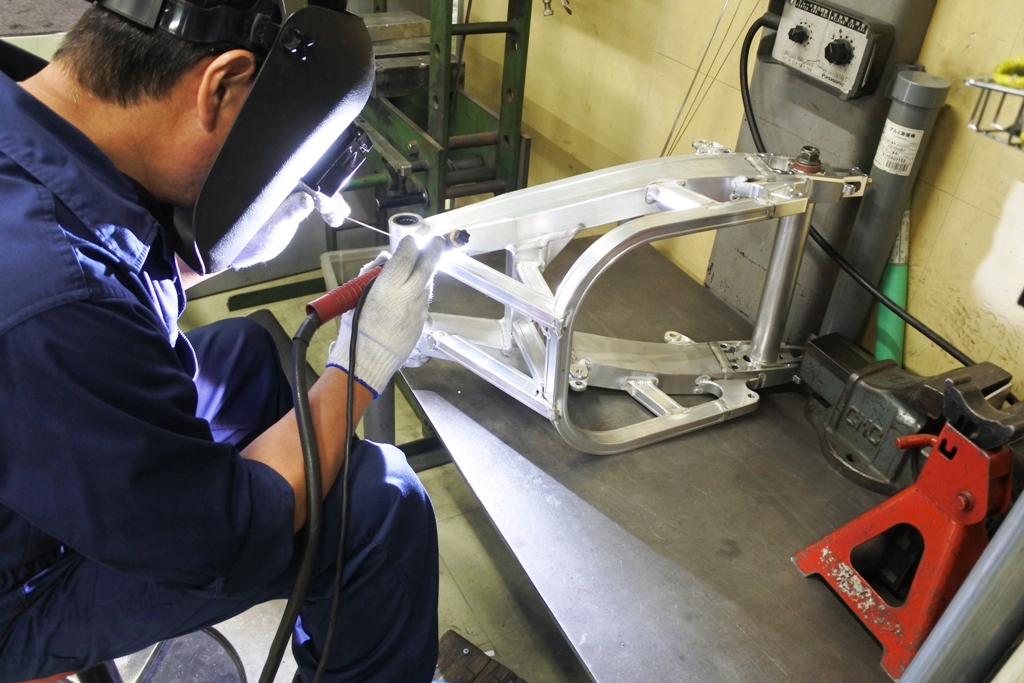
フレームがパウダーコーティング工程へと行っている間、スイングアームに
スタビライザーを溶接。
While the frame is sent out for powder coating, we are welding the stabilizer on the swing arm.
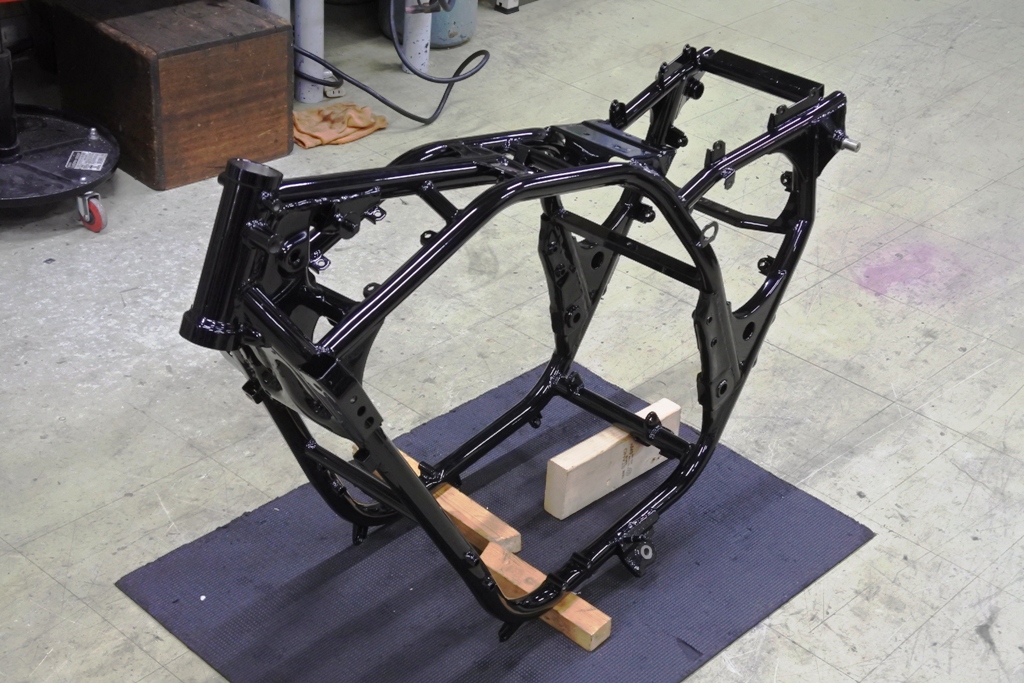
そして後日 フレームが戻って参りました・・・
Then a few days later, the frame came back …
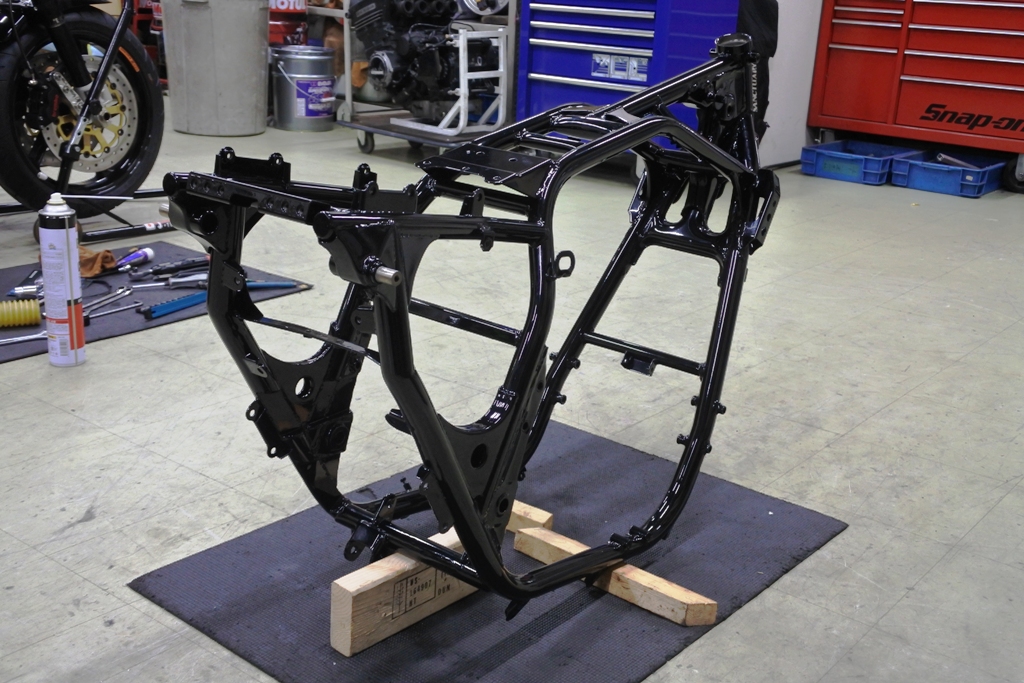
こうして見るとKATANAのフレームとは思えない 姿・サイズですねぇ・・・
When we look at it like this, neither the appearance nor the size would suggest it is a KATANA frame.
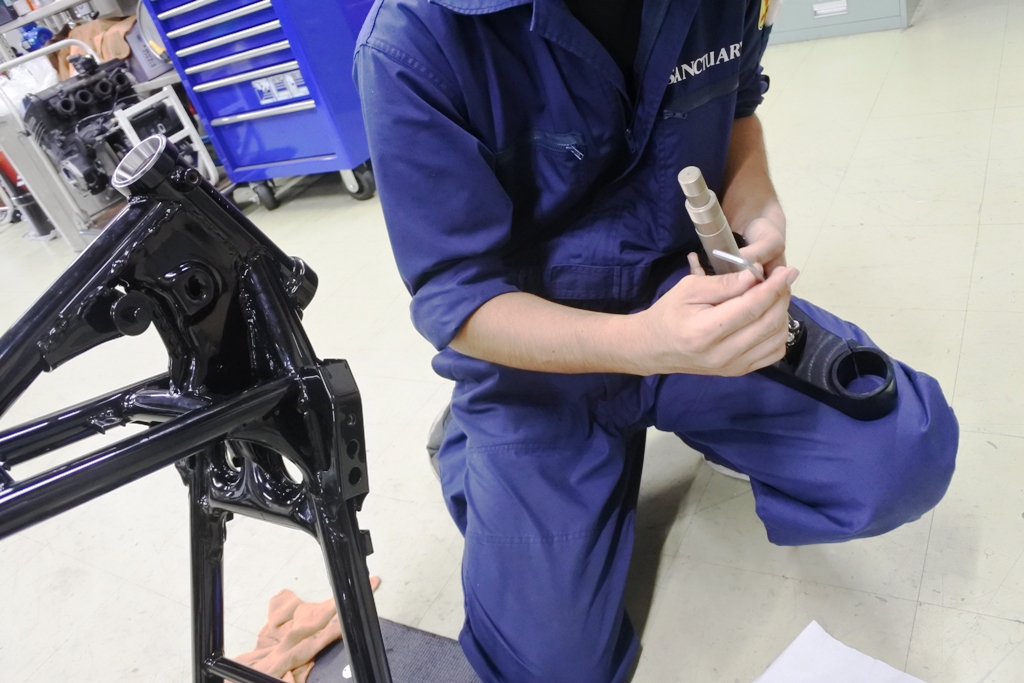
ここからはいよいよパーツを本組みして行く工程です!
From here finally starts the process of making parts up!
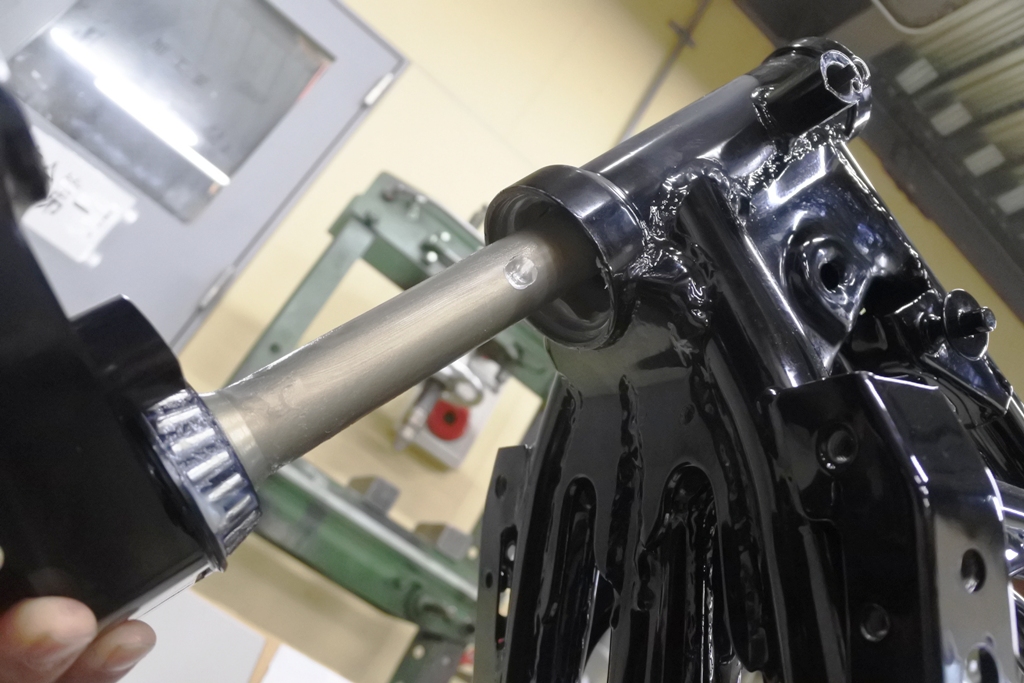
SCULPTURE製 KATANA用ステアリングステムKITのシャフトに穴開け加工を
施してから組み立てすれば・・・
Drilling and assembling the shaft of the SCULPTURE-made steering bracket kit for KATANA.
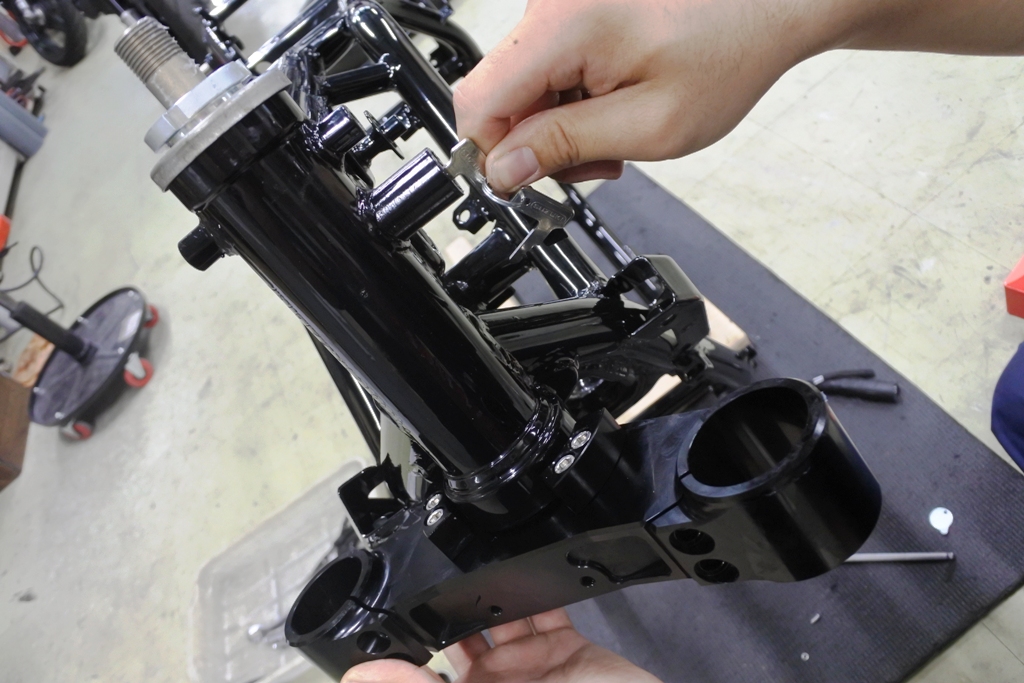
ステアリングロックがきちんと掛かります!
The steering locks firmly!
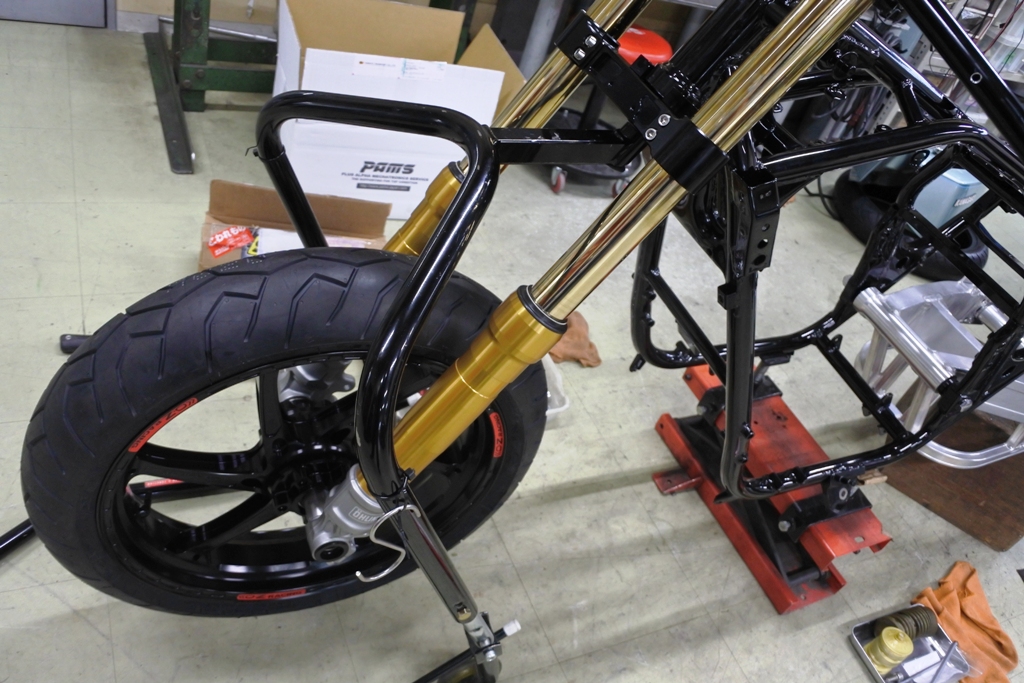
OHLINS製 フロントサスペンションも取り付けて。
Then attaching the OHLINS-made front suspension.
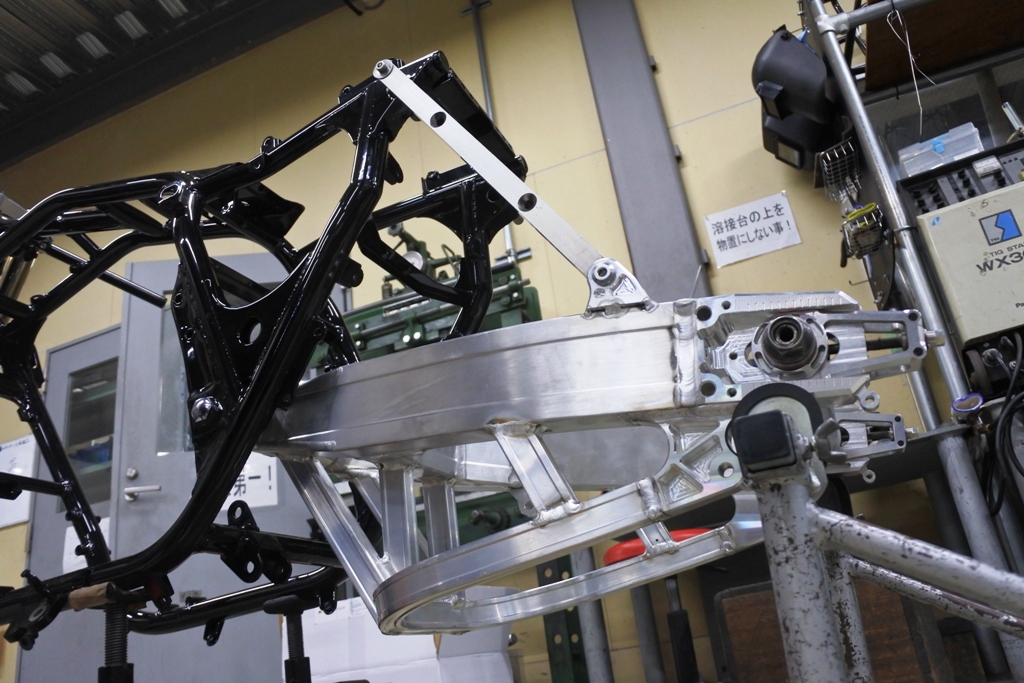
ここでリアスイングアームの最終検証を行うべく 一端仮り組みしました。
Here we temporarily assembled the rear swing arm once, for verification.
Mr.Diaz!
次回はリアスイングアームが完成し、車体装備も一端取り付けして行きますので
より完成形に近い状態が見れると思いますよ~!
Eメールでデザイン画も送りましたので、是非 ご検討してみて下さいね~っ!
Mr.Diaz ! Next we will finish with the rear swing arm, then also install the body parts once, so we think you should see it close to its final form! We also emailed you the design drawings, so please kindly consider!
To Be Contined


