こんにちは! サンクチュアリー本店 代表の中村です。
Hello Everyone! I am Nakamura,
representative director of Sanctuary’s headquarters.
ラスベガス在住 Diazさんからお預かりした GSX1000S カタナ (Part-8)です!
This is GSX1000S Katana (Part-8) shipped from Mr. A Diaz in Las Vegas!
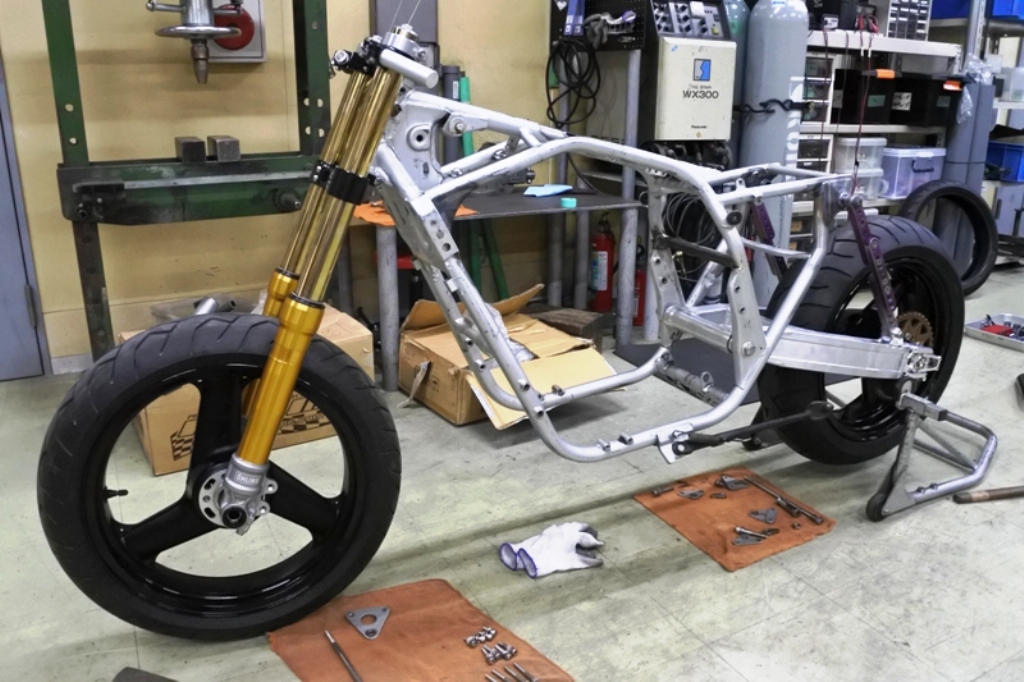
前回暫定ですが組み立てられた RCM-500のローリングシャシー。
The assembled RCM-500 rolling chassis, although it is provisional.
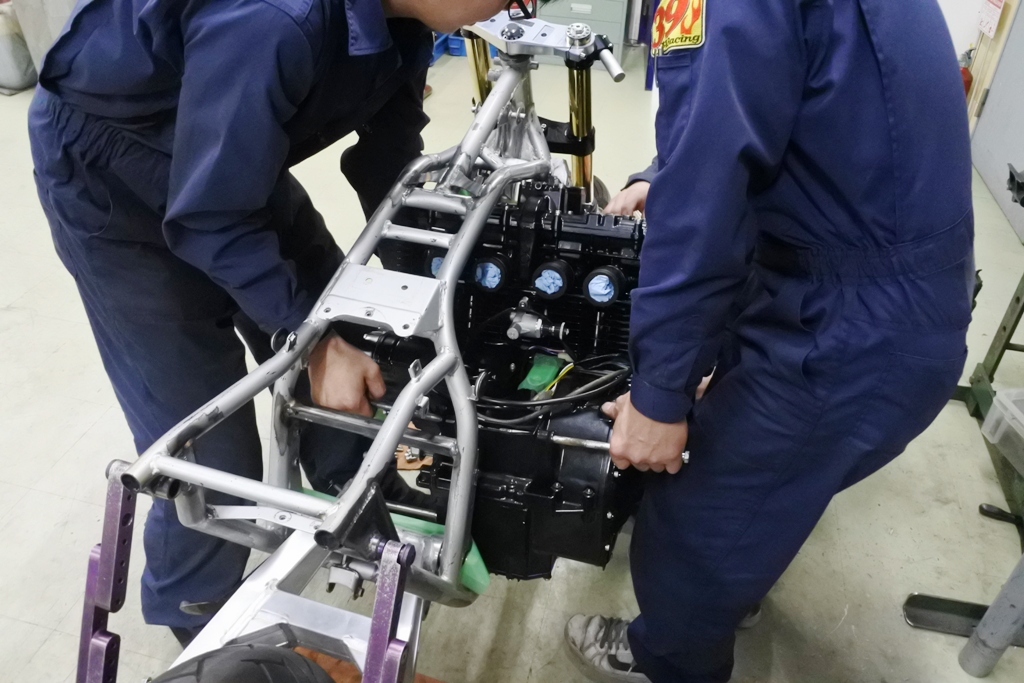
エンジンはもう一度分解して見直しすると言っておりましたが、とは言え
エンジンを搭載しないと見えない部分も多く、そのため一端 搭載をします。
The engine is disassembled again and reviewed,
but there are many parts that cannot be observed unless the engine is installed,
so it is installed.
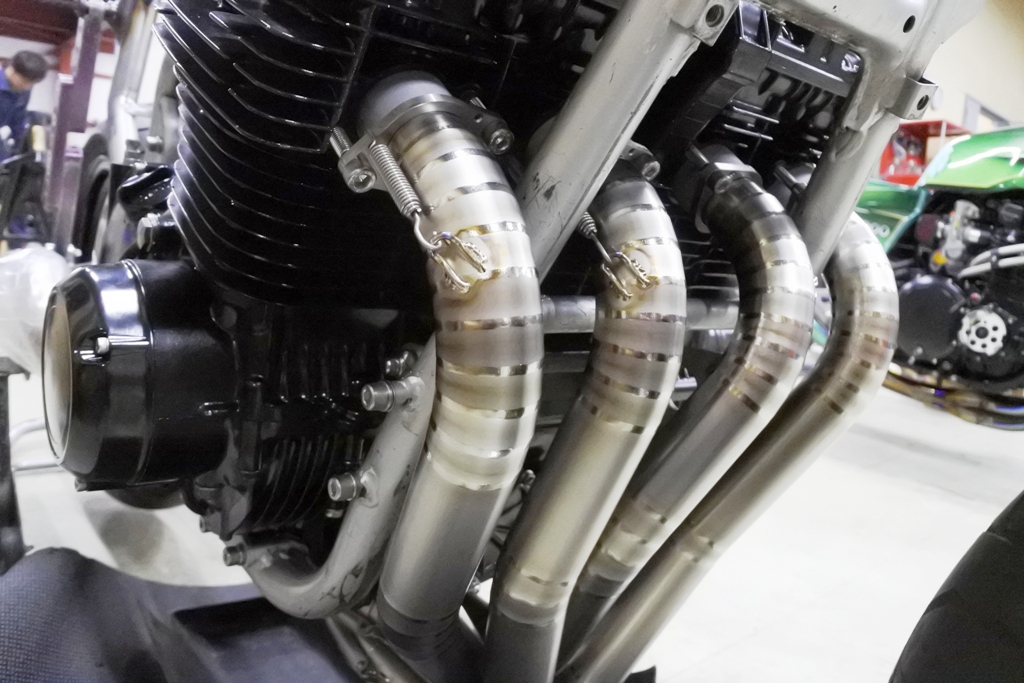
ナイトロレーシング製 カタナ用ウェルドチタンエキゾーストを取り付けて…
NITRO RACING Weld Titanium Exhaust for Katana is attached…
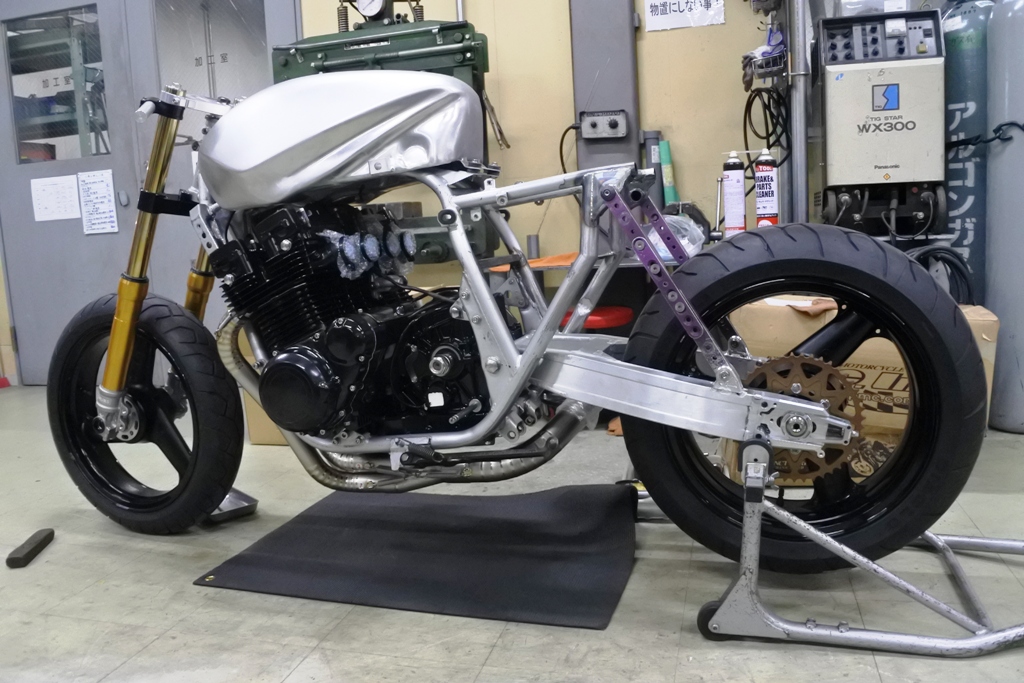
こんな感じになります!
It looks like this!
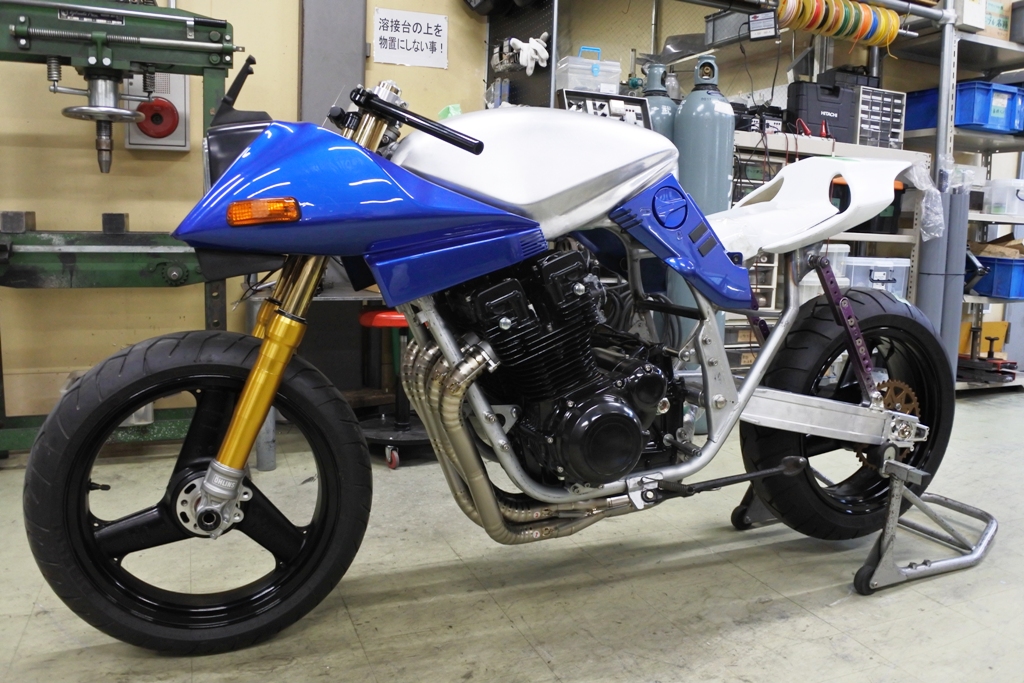
更にこれまた暫定ですが、たまたまあったアッパーカウルやサイドカバーまで
取り付けました。色がブルーですけど全体のフォルムが見えて来ましたね。
Furthermore, although this is provisional,
the color of the attached upper cowl and the side cover that were in our company is blue,
and the entire form is visible.
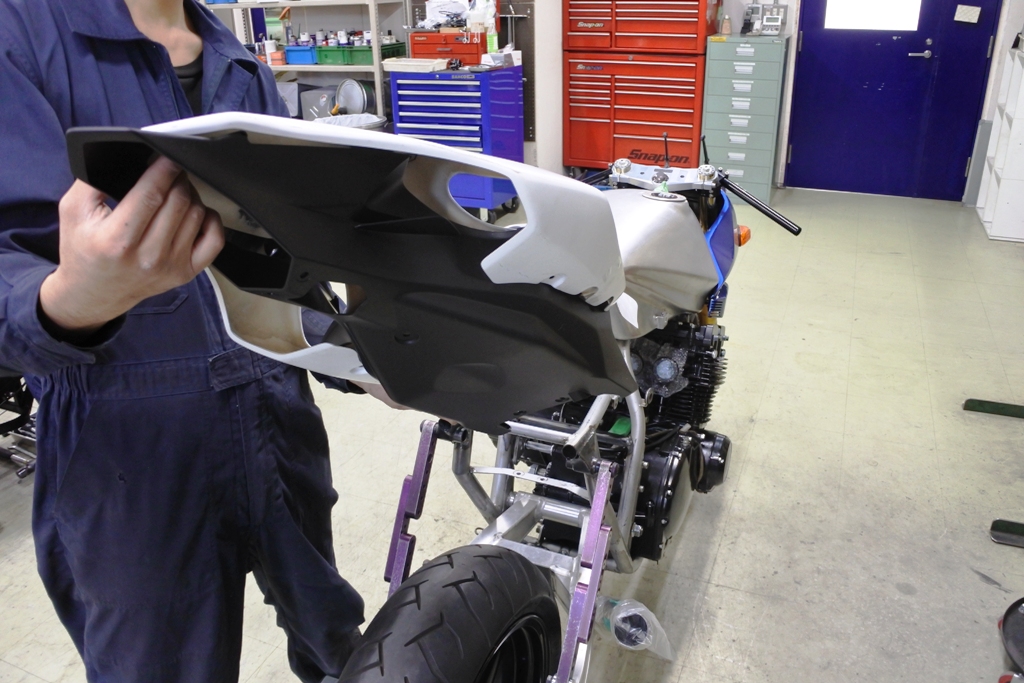
ここから最も加工を要するシングルシートの取り付けに入ります。
From here, the installation of the single sheet,
which requires the most processing, starts.
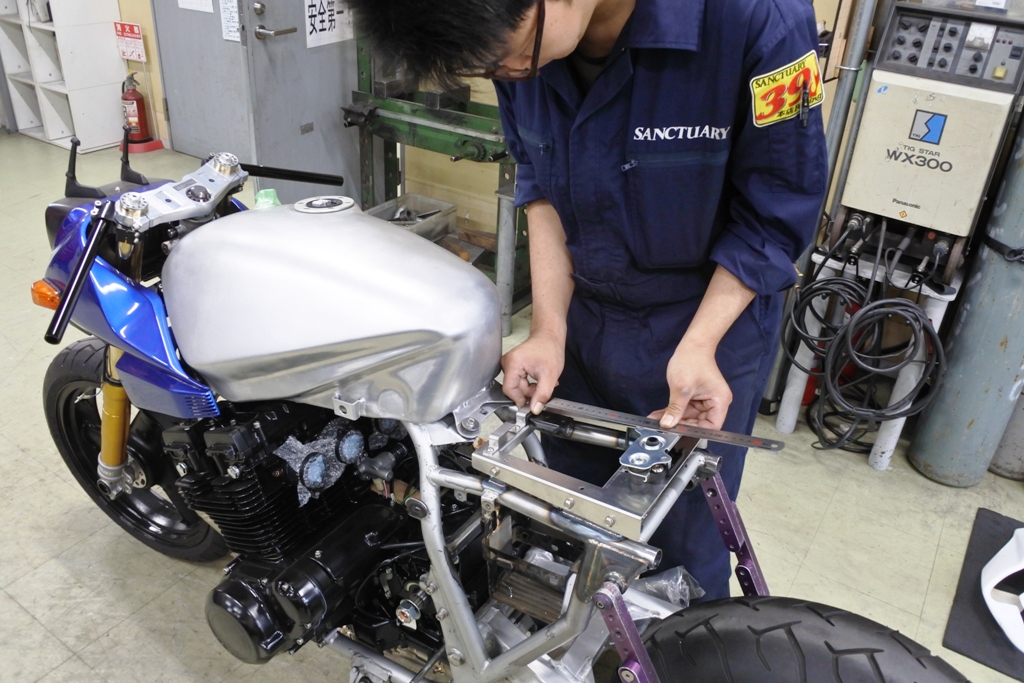
まずはシート下に取り付けられる台座の製作から・・・
First, from the production of the pedestal attached under the seat…
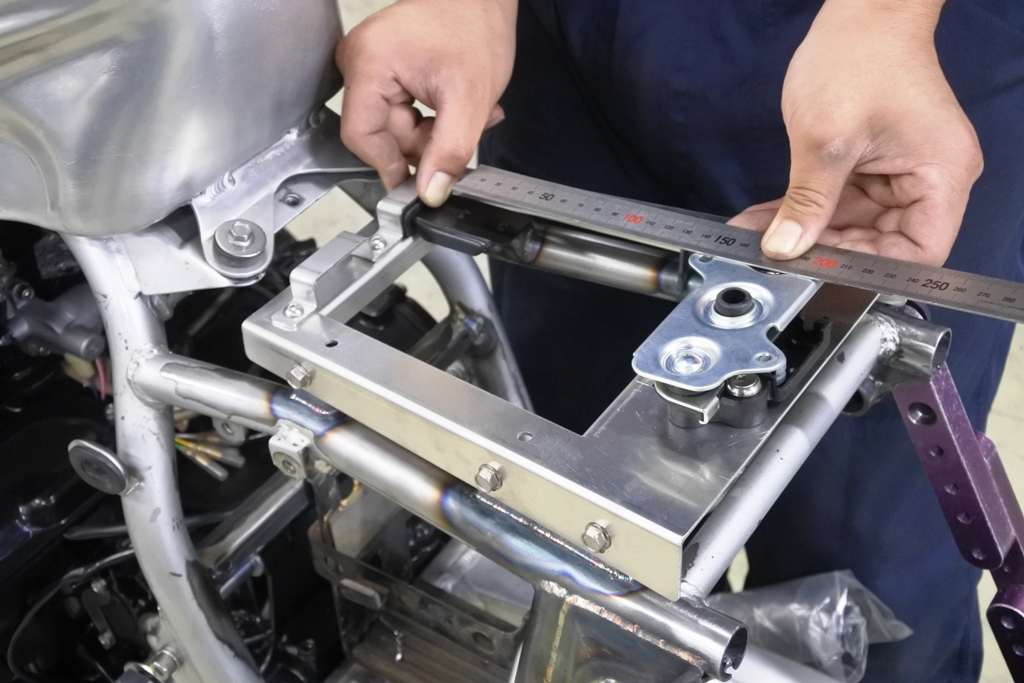
いくつかのパーツを組み立て測定します。
Several parts are assembled and measured.
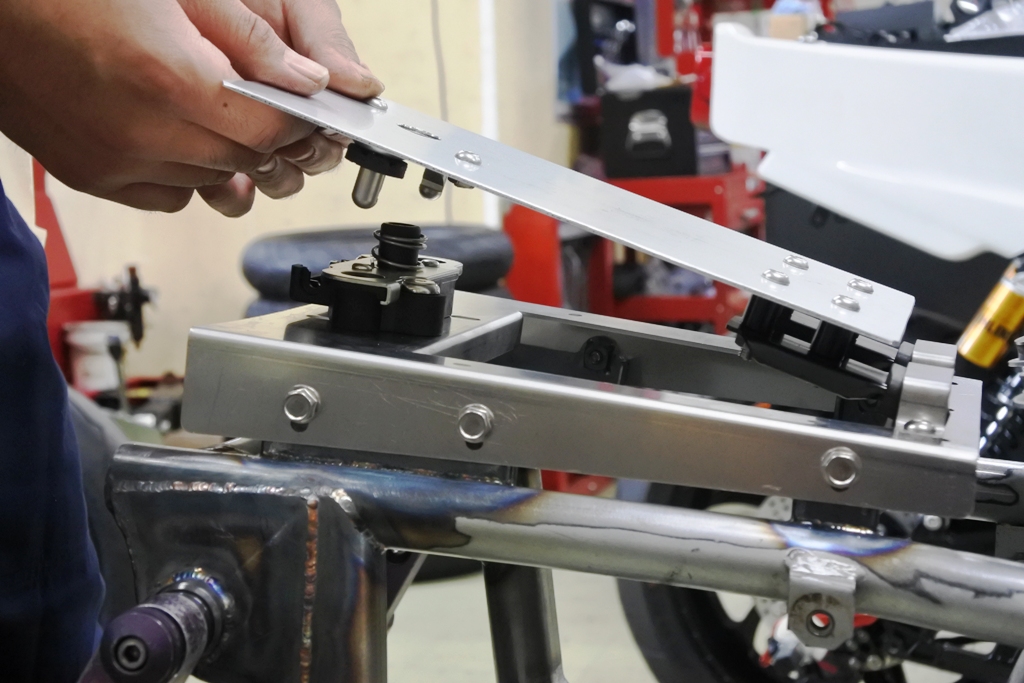
シート本体をワンタッチで脱着できる シートストライカー構造にする為です!
The seat striker structure allows the seat body to be attached and detached with a single touch!
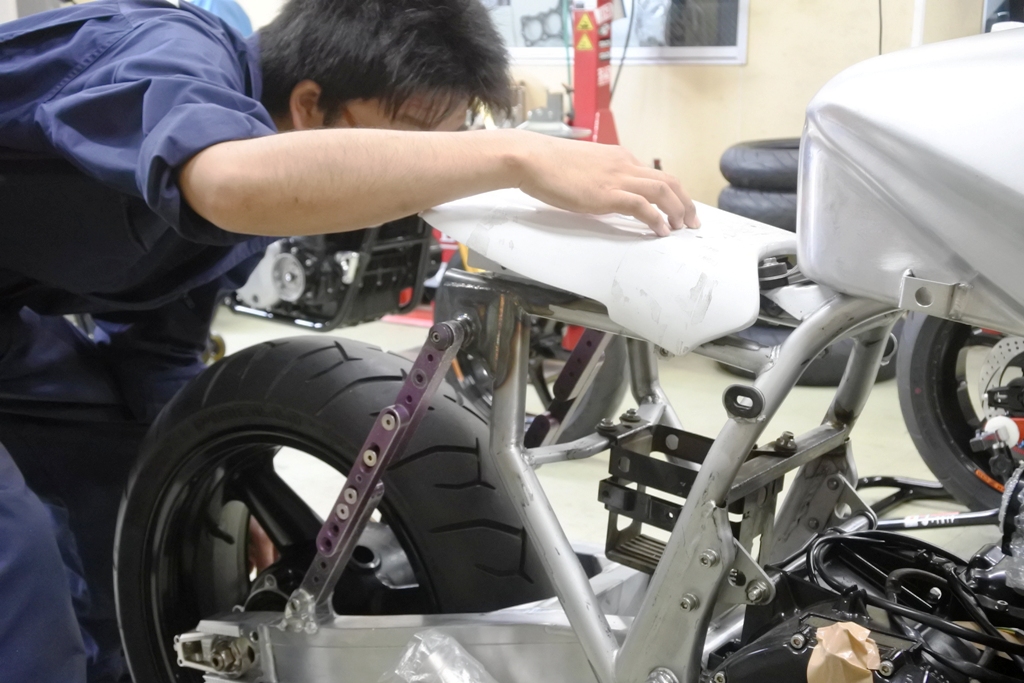
ベースとなるプレートにシートロックのブラケットを固定し、ワンタッチで脱着
できる構造にしました。
The seat lock bracket is fixed to the base plate so that it can be removed with a single touch.
Mr.Diaz!
RCM-500 しばらく更新できておらず申し訳ありませんでした!
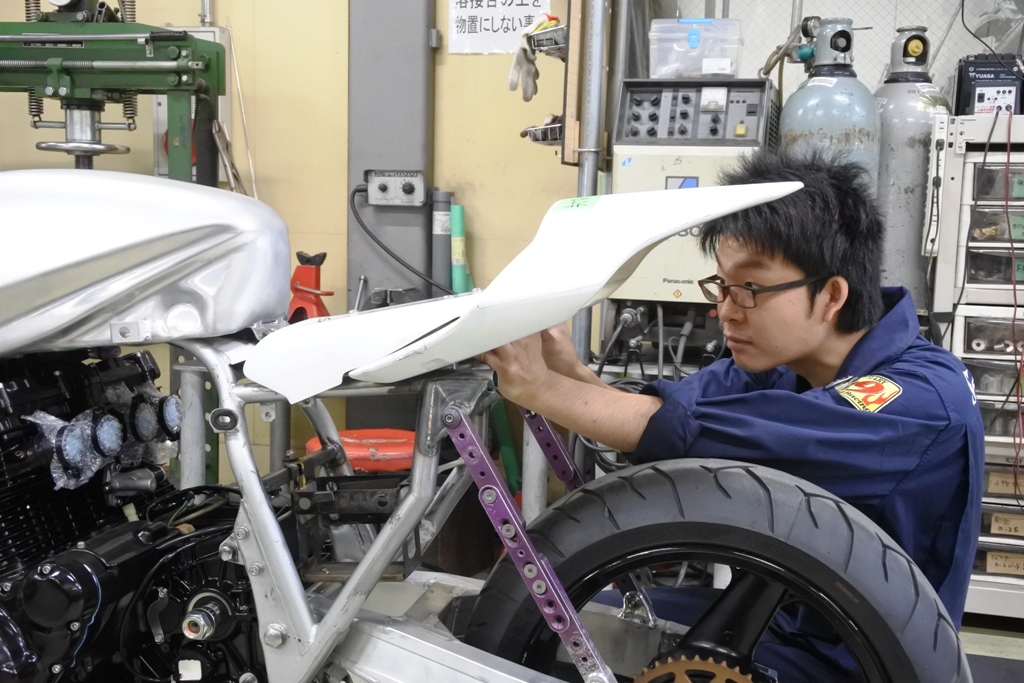
シートカウル取り付けが最も大変な加工ですので 次回もまたお見せしますね~!
Mr.A Diaz! Regarding the RCM-500,
I am sorry for not having any updates for a while!
Installing the seat cowl is the most difficult process,
so I will also show you the process for this next time!
To Be Continued.


